
Editing a Stylesheet
In the stylesheet editor, you are able to change the formatting of content based on the tags that it is divided into. You may recognize these tags from the tabs that appear on the left-hand side of the XML editor. For example, <p> is a paragraph tag. If you are unsure which tag is applied to which content, selecting content within a topic highlights the tab displaying the corresponding tag. Hovering the mouse over this highlighted tab displays the name of the tag as it appears in the stylesheet. For each of the style tags, or “parent tags,” you can define a new “child tag.” This “child tag,” or style class, has all of the same attributes of the original tag, but with the opportunity to make additional changes specifically to that class. You can view stylesheets in a Simplified View or an Advanced View. You can navigate styles more easily in each view using the drop-down menu in the upper-left corner of the stylesheet editor to select the parent style you want to modify.
- Double-click the stylesheet you want to modify in the Stylesheets folder, which is located in the Resources folder in the Content Explorer. The Stylesheet Editor appears.
- Toggle between View: Advanced or View: Simplified by clicking the View icon in the upper-left corner of the local toolbar of the stylesheet editor.
- Working in the Simplified view is easiest for beginners because it allows for formatting in a way that is similar to Microsoft Word. Each style appears with a preview cell that shows you its current properties.
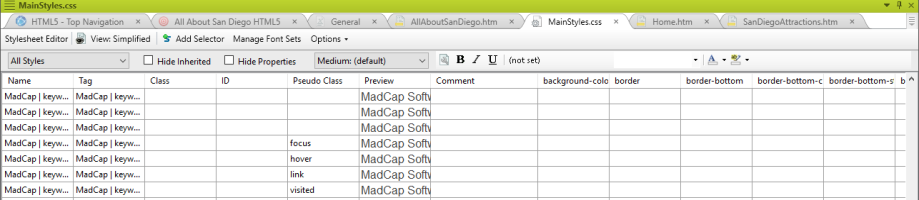
- Working in the Advanced view displays styles as alphabetical list view with the options for editing displayed in a window on the right. Inherited styles display in light grey until you have changed their properties within the stylesheet.
- Double-click the style you want to make changes to. A Properties window appears.
- Click the tab in the Properties window containing the settings you want to change.
- Change the desired properties for that style.
- Repeat steps 2 and 3 until you are satisfied with the style.
- Click OK.
- Save the stylesheet to apply the changes to content which this style is applied to. For more information on applying styles to content, see "Applying Styles."
- Select the type of style you want to modify in the drop-down menu above the list of styles. The menu displays "Show: All Properties" by default. If you do not know which type of style you want to modify, keep "Show: All Properties" selected.
- Select the style you want to modify in the list of styles.
- Choose which properties you want the Stylesheet Editor to display.
- Select Show: Set (Locally) Properties to display property values that have already been modified.
- Note: Select any property from the Add Property drop-down menu in the Set (Locally) Properties view to modify a property that is not being displayed. If you know the name of the property you want to modify, you can type it directly into the Add Property field.
- Select Show: Set Properties to display property values that have already been modified and inherited properties.
- Note: Select any property from the Add Property drop-down menu in the Set Properties view to modify a property that is not being displayed. If you know the name of the property you want to modify, you can type it directly into the Add Property field.
- Select Show: Assorted Relevant Properties to display property values that MadCap Flare predicts you may want to change.
- Select Show: All Properties to display all properties. You can scroll through these until you find the property you want to modify.
- Select Show: Set (Locally) Properties to display property values that have already been modified.
- Change the desired properties for that style.
- Save the stylesheet to apply the changes to content which this style is applied to. For more information on applying styles to content, see "Applying Styles.".
